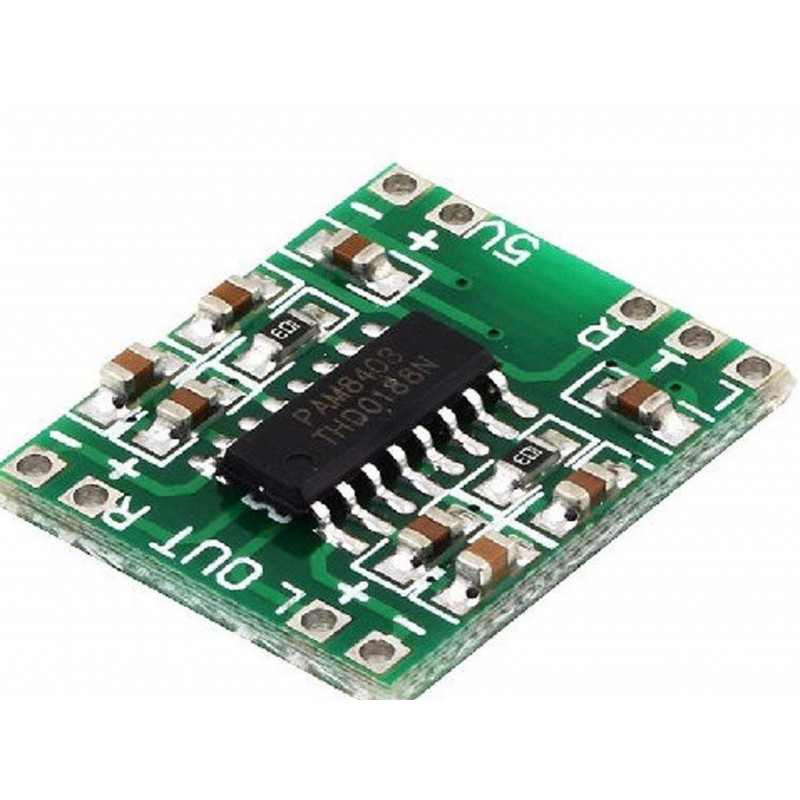
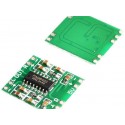
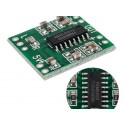
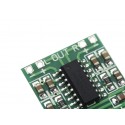
Pam8403 5V Two Channel Stereo Mini Class D 3Wand3W Audio Amplifier
Rs. 14.00 Rs. 17.00
- Brand: https://www.diodes.com/design/support/inactive-datasheet-archive
- Product Code: SEN-AUDIO-AMP
- Availability: In Stock
- For Bulk Order
 9962060070
The PAM8403 5V Two-channel Stereo is a 3W+3W, class-D audio amplifier.
Allowing it to achieve high-quality sound reproduction. The new filterless architecture allows the device to drive the speaker directly, requiring no low-pass output filters, thus saving system cost and PCB area.
With the same numbers of external components, the efficiency of the PAM8403 is much better than that of Class-AB cousins. It can extend the battery life, which makes it well-suited for portable applications.
Application :
Bluetooth Stereo Audio hands-free/headsets
In robots that speak or generate sounds to indicate activities
Portable Speakers
LCD Monitors / TV Projectors
Arduino or Raspberry Pi Game Machines
Speaker Phones
| SPECIFICATIONS | |
| Operating Voltage Range | 2.5V – 5.5V. |
| Max Gain | 24 dB. |
| Current Handling Capacity | 8 mA. |
| Efficiency | 87 %. |
| Amplifier IC | PAM 8403. |
| Load | Can direct drive 4 or 8 ohm small speakers. |
| S/N Ratio | 80 dB. |
| Power supply Rejection ratio | -58 dB. |
| Shipment Weight | 0.105 kg |
| Shipment Dimensions | 8 × 6 × 3 cm |
OVERVIEW:
-Dual channel stereo, high output power (3 w + 3 w power @ 5V and 4 ohms load)..
-Double panel wiring solves crosstalk.
-Super mini design allows it to be easily placed in a variety of digital products.
-3W Output at 10% THD with a 4ΩLoad and 5V Power Supply.
-Filterless, Low Quiescent Current and Low EMI and Low Noise.
-Short Circuit Protection and Thermal Shutdown
-₹ 69.00 (inc GST)
-₹ 58.47 (+18% GST extra)
PACKAGE INCLUDES:
1 PCS x Pam8403 5V Two Channel Stereo Mini Class D 3Wand3W Audio Amplifier
https://www.diodes.com/design/support/inactive-datasheet-archive/?filterable=PAM8403
//SOURCE CODE TAKEN FORM BELOW LINK
//https://forum.arduino.cc/index.php?topic=607805.0
#include <SD.h> // need to include the SD library
#define SD_ChipSelectPin 4 //using digital pin 4 on arduino nano 328
#include <TMRpcm.h> // also need to include this library...
TMRpcm tmrpcm; // create an object for use in this sketch
int SW1;
int SW2;
int SW3;
int SW4;
void setup(){
pinMode(A0,INPUT); //Define A0 as digital input.
pinMode(A1,INPUT); //Define A1 as digital input.
pinMode(A2,INPUT); //Define A2 as digital input.
pinMode(A3,INPUT); //Define A3 as digital input.
digitalWrite(A0, HIGH);
digitalWrite(A1, HIGH);
digitalWrite(A2, HIGH);
digitalWrite(A3, HIGH);
Serial.begin(9600);
tmrpcm.speakerPin = 9; //11 on Mega, 9 on Uno, Nano, etc
if (!SD.begin(SD_ChipSelectPin)) { // see if the card is present and can be initialized:
Serial.println("SD card not initiated");
}
tmrpcm.setVolume(5); // 0-7
}
void loop(){
SW1=digitalRead(A0);
SW2=digitalRead(A1);
SW3=digitalRead(A2);
SW4=digitalRead(A3);
if (SW1 == LOW) {
tmrpcm.play("1.wav");
Serial.println("A0 low");
} else if(SW2 == LOW){
tmrpcm.play("2.wav");
Serial.println("A1 low");
} else if(SW3 == LOW){
tmrpcm.play("3.wav");
Serial.println("A2 low");
} else if(SW4 == LOW){
tmrpcm.play("4.wav");
Serial.println("A3 low");
}
}
15 days

