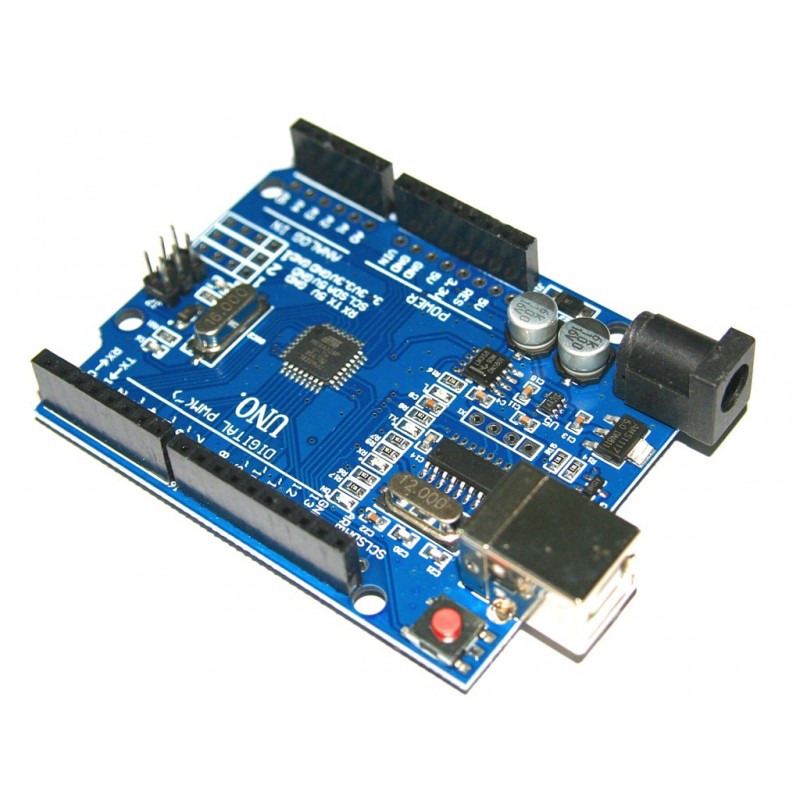
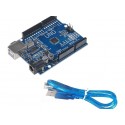
Arduino Uno R3 Ch340G Usb Ic Smd Atmega328P Ic Compatible With Arduino Uno R3
Rs. 201.00 Rs. 236.00
- Brand: https://www.arduino.cc/en/Main/ArduinoBoardUnoSMD
- Product Code: ARDUINO
- Availability: In Stock
- Price in reward points: 3
- For Bulk Order
 9962060070
| SPECIFICATION | |
| Model Type | Arduino Uno R3 |
| Microcontroller Chip | ATmega328 (SMD) – Interface CH340G |
| Operating Voltage | 5 V |
| Input Voltage(Recommended) | 7-12V |
| Input Voltage (limit) | 6-20V |
| Analog I/O Pins | 6 |
| Digital I/O Pins | 14 (of which 6 provide PWM output) |
| PWM Digital I/O Pins | 6 |
| DC Current for 3.3V Pin | 50 mA |
| DC Current per I/O Pin | 40 mA |
| Clock Speed | 16 MHz |
| SRAM | 2 KB (ATmega328) |
| EEPROM | 1 KB (ATmega328) |
| Flash Memory | 32 KB (ATmega328) of which 0.5 KB used by bootloader |
| Power Supply Option | DC Jack or USB |
| On Board LEDs | On/Off, L (PIN 13), TX, RX |
| Operating Temperature (°C | -40 to +90 |
| OVERVIEW | |
| Microcontroller ATmega328 (SMD) | Interface CH340G |
| Operating Voltage | 5V |
| Input Voltage (recommended) | 7-12V |
| Input Voltage (limits) | 5-20V |
| Digital I / O Pins | 14 (of which 6 provide PWM output) |
| Analog Input Pins | 6 |
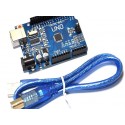
PACKAGE INCLUDES:
1 PCS x Arduino Uno R3 Ch340G Usb Ic Smd Atmega328P Ic Compatible With Arduino Uno R3
1 PCS x set of male Jumper Header.
https://www.arduino.cc/en/Main/ArduinoBoardUnoSMD
To code for the Arduino Uno R3 Ch340G USB IC SMD Atmega328P IC, you will need to follow these steps:
Install the Arduino Integrated Development Environment (IDE) on your computer. This is a free software tool that you will use to write and upload code to your Arduino board.
Connect your Arduino board to your computer using a USB cable.
Open the Arduino IDE and select the correct board type and serial port in the "Tools" menu. For the Arduino Uno R3 Ch340G USB IC SMD Atmega328P IC, select "Arduino/Genuino Uno" as the board type and the appropriate serial port for your board.
Write your code in the Arduino IDE. The Arduino programming language is based on C++ and has a number of built-in functions for controlling the board's hardware.
Test your code by using the "Verify" button in the Arduino IDE. This will check your code for any syntax errors.
Upload your code to the Arduino board by clicking the "Upload" button in the Arduino IDE. This will send your code to the board, where it will be executed.
If you encounter any errors or issues while uploading your code, check the Arduino IDE's output window for any error messages. You may also need to troubleshoot your board's connection or other hardware issues.
15 days

